Introduction
React is a library; this means we can add it to a library and use it in existing applications. It, however, doesn’t include any tooling, such as build tools, meaning that you still need to add a lot of setup before you can use it effectively.
React developers created a tool called create-react-app (also called CRA for short) which creates a basic React app with tooling already setup so you can jump straight into developing.
In addition, create-react-app also provides different templates, such as a TypeScript template, allowing you to quickstart a TypeScript React app. You can also create your own templates.
Create React App: Custom Templates
Creating a new app with create-react-app
Using create-react-app is very simple.
The syntax is as follows, which you run in your terminal:
npx create-react-app my-first-app
This command will create a new create-react-app inside a new folder where you ran the command.
my-first-app above is the name of the folder that will be generated for your app. You can change this to whatever you’d like; however, you must have lowercase letters and not include any spaces.
Run the create-react-app command above, and we will then begin exploring the app.
Exploring the app
Once the app has finished installing, open the folder of the new app in VS Code.
Running the app
Let’s run the app now to see it in action.
In a terminal in the same folder of the app, run the command:
npm run start
The app will now run a development server in the terminal and eventually open a browser window with the app once it’s done. If it doesn’t open a browser window, then open a browser and navigate to the URL shown in the terminal; this is usually http://localhost:3000/.
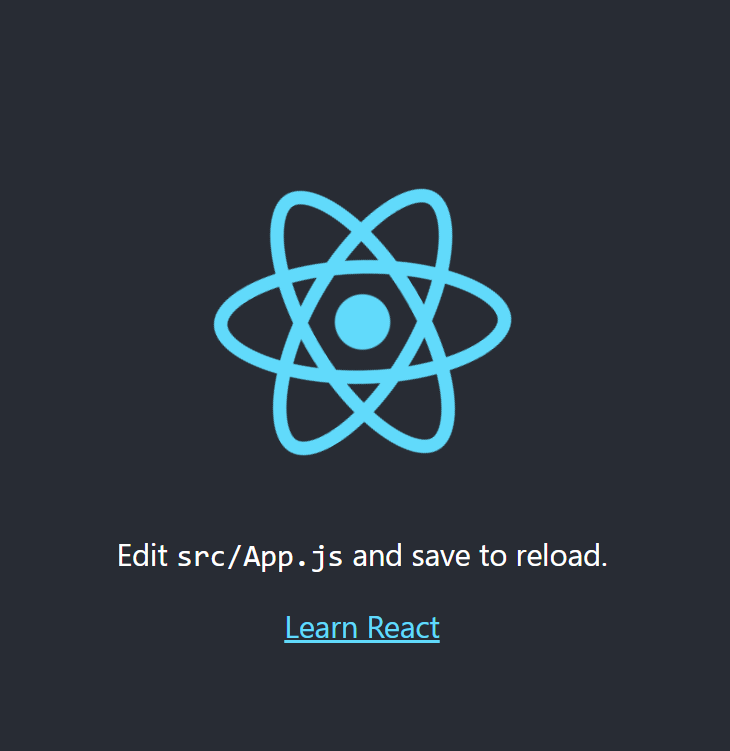
Once your app is running, you will see something like the image below:
It is important that you keep an eye on this terminal when developing, as errors will be shown in this terminal. It would be best to also have the console open in your browser, as errors might also be shown here.
NOTE: You need to keep this development window open at all times when developing on your React app. When you are done for the day, you can close the terminal, and then when you start working on your app again, you simply run the
npm run startcommand again.
package.json
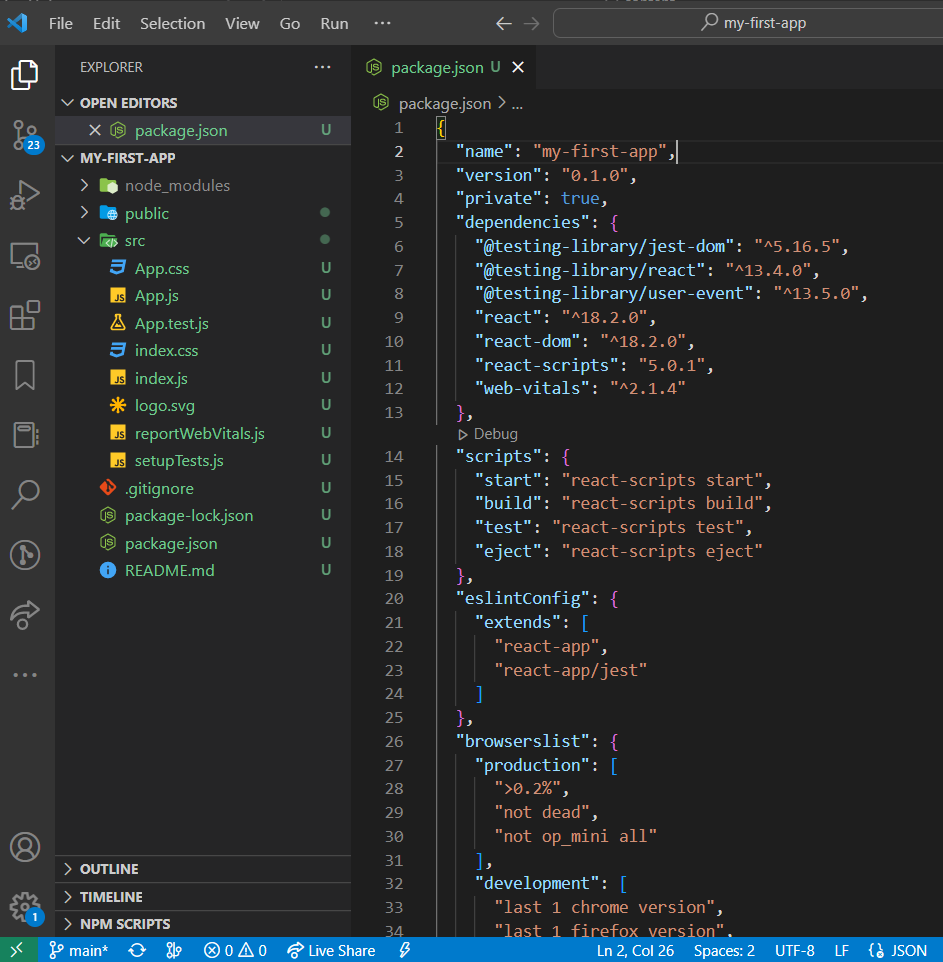
Open the package.json file so we can look at the contents of the file.
Dependencies
Between lines 5 and 13 of the screenshot, you will see the dependencies that the CRA app is using:
  "dependencies": {
    "@testing-library/jest-dom": "^5.16.5",
    "@testing-library/react": "^13.4.0",
    "@testing-library/user-event": "^13.5.0",
    "react": "^18.2.0",
    "react-dom": "^18.2.0",
    "react-scripts": "5.0.1",
    "web-vitals": "^2.1.4"
  },
react: This is the core library of React.
react-dom: This is the library that lets React write to the DOM.
react-scripts: This library is for the React scripts that make it easier to use React.
@testing-library: These libraries are for writing React tests.
Scripts
Between lines 14 and 19 of the screenshot, you will see the scripts available for you to use.
  "scripts": {
    "start": "react-scripts start",
    "build": "react-scripts build",
    "test": "react-scripts test",
    "eject": "react-scripts eject"
  },
start: This is to run the development server of React. You’ll quite often see this script renamed to dev so it’s clearer that it starts the development server.
build: This command is used to build the actual React app when deploying it. This build version won’t contain the debug features present when using the start command.
test: This command runs the tests you have written for your React app.
eject: This command will unpack your entire app so you can make advanced configurations. You will likely never need to run this command. This action cannot be reversed, so do not run it unless you are 100% sure you know what you’re trying to do.
File structure
In VS Code, navigate to the src folder.
The two files we are interested in are index.js and App.js
index.js: This is the entry point for our app and is where we specify the HTML element that React will render in. You typically don’t need to do anything in this file.
App.js: This is our main App component. It contains what we are seeing on the screen.
SPA (Single-Page Application)
React is a SPA.
This means that it will load only a single HTML page and then use JavaScript to dynamically change the content of this HTML file.
Open the public folder, and inside, you will see an empty div with an id of root inside of the <body> :
<div id="root"></div>
React will load this HTML page once and then render content dynamically in this div.
If you have a look at the index.js file, you will see where React selects this div and then renders our <App> component into it:
const root = ReactDOM.createRoot(document.getElementById('root'));
root.render(<App />);
Video
This video will look at creating an App with CRA and exploring the files in a CRA App.
Lesson task
Goal
The student will learn to use the create-react-app tool to create an app, start the development server for the app, and then make a minor change to the app.
Brief
You will use the CRA tool to create a new app in the directory my-first-app. After this, you will start the development. You will then modify the app to display text of your choice.
Level 1 process
-
Navigate to the folder that contains all of your projects. Do not create a folder for the app; this will automatically be done for you.
-
Open a terminal in the above folder that contains all of your projects.
-
Run the following command in the terminal to create a CRA app:
npx create-react-app my-first-app -
Once the installation is done, open the
my-first-appfolder in VS Code. -
In the terminal, navigate to the
my-first-appfolder and runnpm run start. This will start the development server. Once it is started, your browser should open your app, which will display a spinning React logo. -
In VS Code, navigate to the
App.jsfile and delete everything inside of the file. Then copy and paste the following into the file and save the file:
import React from 'react';

function App() {
  return <div>Hello world</div>;
}

export default App;
-
You should now see
Hello worldon a white background displayed on the page. -
Change
Hello worldto any text you’d like and save the file. You should then see the text change to what you have written. -
Feel free to experiment by adding different elements and saving the file.