Introduction
You will eventually need to deploy your site. A free solution for this is Netlify.
##
Netlify hosts front-end applications. They have created a simple user experience making it great to deal with.
Setup
Before we start, there is a routing configuration that must be set with Netlify. We need to set this property otherwise there might be issues on Netlify finding our main page.
In the root of your project (Not src folder but the root folder of your project), locate the public folder, and create a file called _redirects. Notice how this file has no extension, it must be named exactly _redirects. If you not have the public folder, you can create the _redirects file in the root folder.
Now add the following to the _redirects file and save the file:
/* /index.html 200
Push your code so it has this update.
Signing up:
Sign up at Netlify using your login of choice.
On the Get Started page you can simply select School and proceed, otherwise fill in the details if you’d prefer. We are not using a team space, you can leave this field blank or create your own team name.
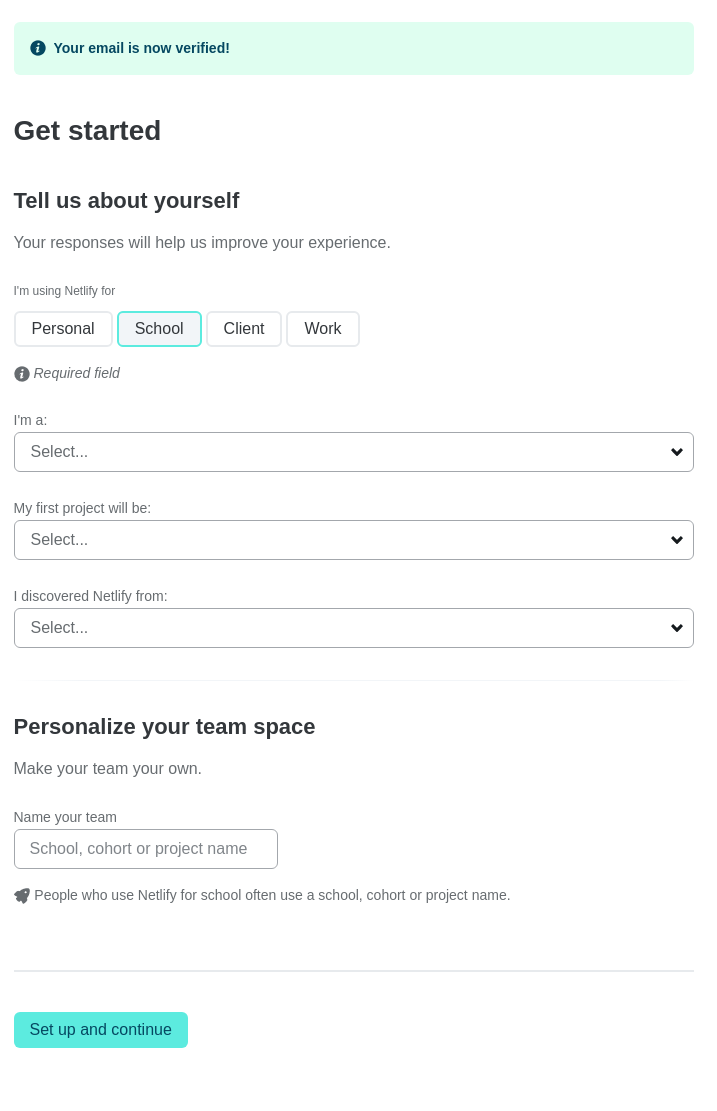
Above: The Get Started screen
Choosing a Git Provider
You will then need to connect your Git Provider. This should be your own personal GitHub account.
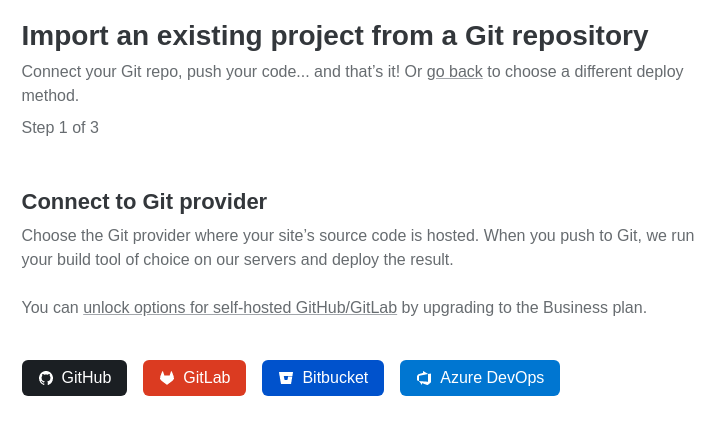
Above: Choosing a git Provider
NOTE: You may need to authorise the Netlify app on GitHub.
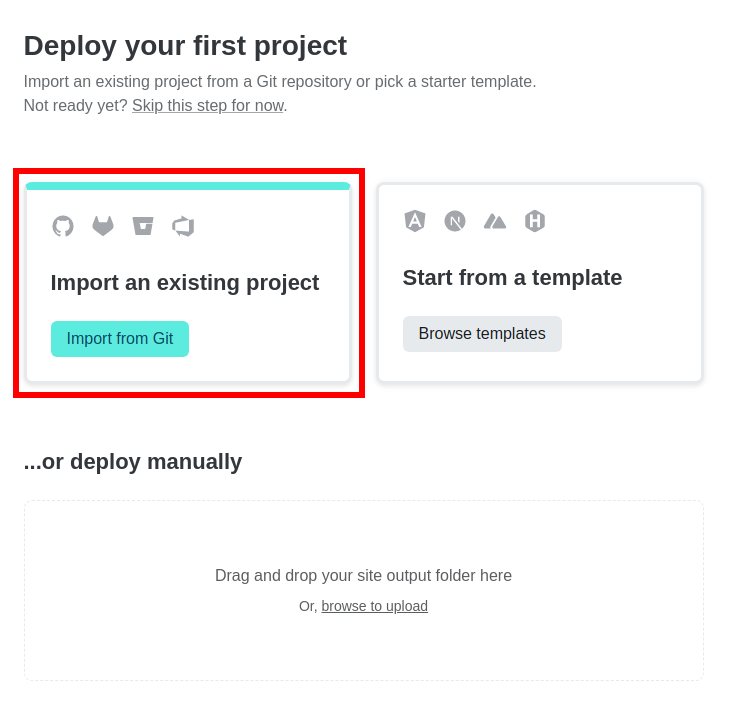
Deploying your first project
On the Deploy your first project screen, select Import an existing project.

Choosing your repos
Click on the Configure the Netlify app on Github link at the bottom of the page.
Select your GitHub account.
You will then be presented with the settings for your account. Scroll down to the bottom and you will see the option to select specific repos that will be exposed to Netlify. This allows you to only deploy certain projects from your GitHub profile.
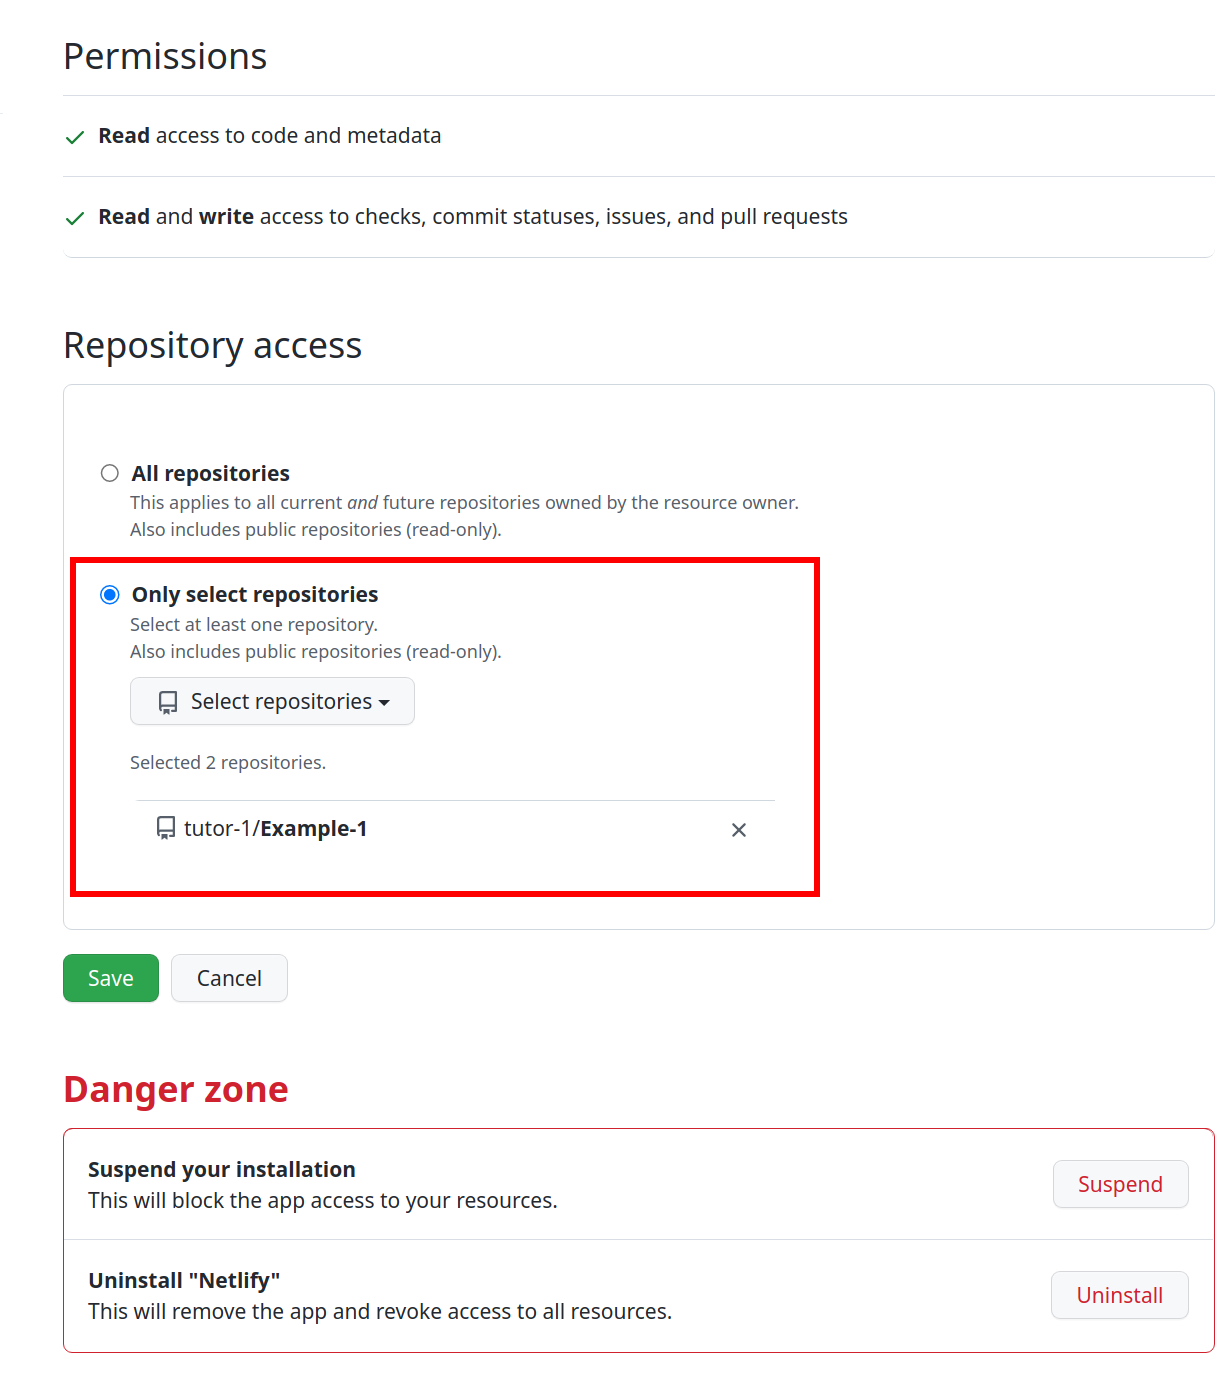
Select a repo that you want Netlify to have access to.
Once a repo has been selected you will then be presented with the final screen 3. Site settings, and deploy.
Make sure that the Build command is set to npm run build and the Publish directory set to build.
You can now click Deploy site.