Introduction
In this lesson, we will dive into the process of creating a prototype with Figma. We will also look at what needs to happen before prototyping can start.
Importance of prototyping
You may wonder why prototyping is so important and why to bother with creating a wireframe and then a full functioning prototype later. These processes all play a vital role in getting things right from the start and delivering the user with a good user experience.
As we have learnt, user testing is critical in the design process. You will test your wireframe and then, later on, do more thorough testing on your prototype where you will invite users to use your interface.
With your wireframe, you will test the structure and layout and determine if these elements make sense to a user. With the prototyping, you will test the functionality of your website or app. Not only will the prototype show functionality, but it should essentially show the visual characteristics of the website as well.
The following questions are examples of things you should ask yourself when using a prototype to test functionality:
-
Did users relate to your choice in colour?
-
Were the fonts used easily readable, and do you have a good visual hierarchy on the site to draw attention to important information?
-
Why did the user miss the primary CTA? Perhaps was it too small, and you should make it a tad bigger.
-
How did users react to specific elements, such as the main navigation?
-
Did they become frustrated on their journey to the end goal?
-
How will your website look and function on different screen sizes?
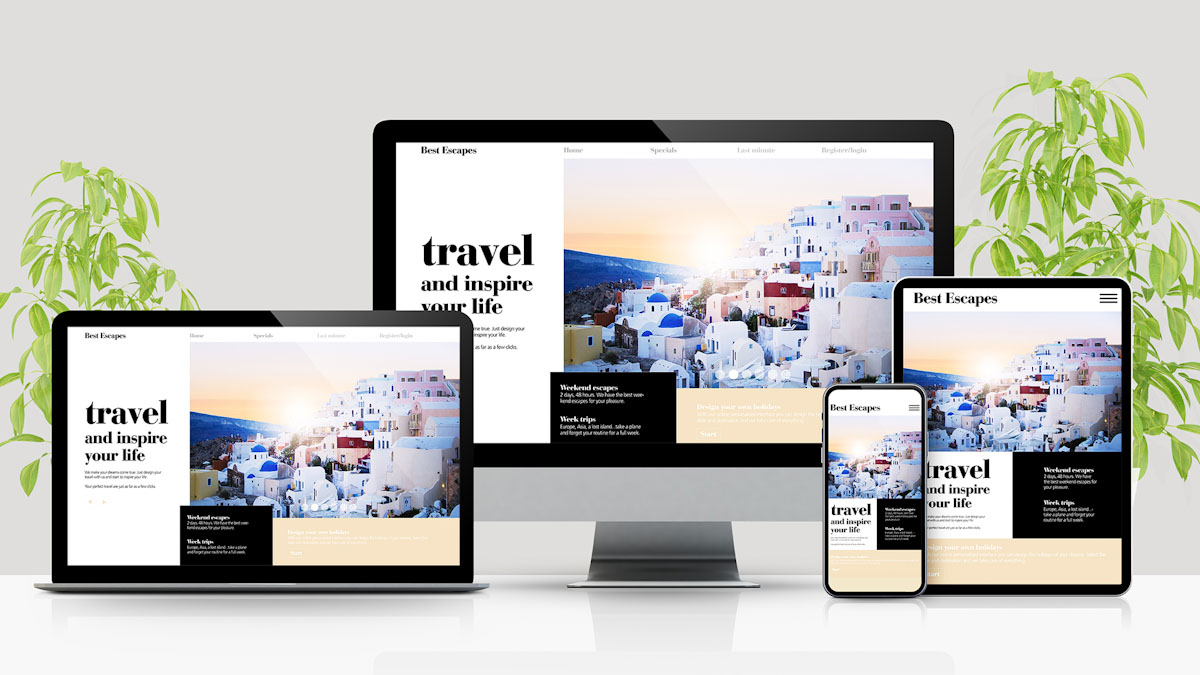
Figure 1: High fidelity prototypes for all screen sizes
Tasks and process
Proper planning before prototyping is vital. Think about it like this; you won’t build a house without adequate planning, right? Surely you need to plan and figure out where the rooms such as the bathroom, main bedroom and living area in the house should be. The same applies when it comes to prototyping.
Gather requirements
Before you can get started on any form of design, it’s wise to have a good conversation with the client to gather the project’s requirements. What does the client what to achieve in the market, who do they think their target audience is, do they have an existing Corporate Identity (CI) or do you need to design one? What do they want the user to do on their website, and what goals do they want to achieve with the product?
Information architecture, wireframes and paper prototypes
By this stage, you should have a good idea of the client’s needs, their main goals for the website and what you need to focus on. You should also have some insights into what kind of business they run and which business model they use.
As a UX designer, it’s up to you to bring user and business together by creating a user-friendly product that will generate revenue for the business and pleasure for the users. With the information gathered from your client, start by creating an Information Architecture (IA) for the site after spending a fair amount of time figuring out which pages to include.
Start planning the structure and layout by doing a simple wireframe sketch or create one digitally. After the wireframe process, you will build your paper prototype to conduct user research.
User research
We may have already done user research with the wireframing process to figure out who our target audience is. However, it’s still a vital step in the prototyping process to ensure that what you are about to embark on will meet your target audience’s needs and pain points. Not only that, but you will quickly learn whether there is a need for your product in the market or not.
Having an aesthetically pleasing website is useless if the users’ wants and needs aren’t met. The five-step research learning spiral was originated by Erin Sanders at Frog (Erin Sanders, 2014) and is useful in conducting user research.
Let’s look at the five steps below to understand the research process better.
- Objectives What knowledge do we have about our users at this stage and what knowledge gaps do we need to fill?
- Hypotheses The knowledge we already have of our users or we believe we have. What we think we know about their habits and the answers we propose to meet their needs.
- Methods How will we fill the gaps in our knowledge of our users and their habits? What strategies will we use and which will work based on the time and workforce we have available? Will observing our users work better than interviews, or should we maybe do card sorting? If we want to conduct interviews, we need a team of people with experience to ensure the process is a success. It will also be time-consuming, which is challenging if we don't have much time.
- Conduct Use the selected methods to gather user data.
- Synthesise Now we take the knowledge we have gained from our users and intergrade it into our products to see what possibilities exist for our product's design.
Building a prototype
We have consulted the client, we have an IA, wireframe and paper prototype created, and we went through user research to see what gaps we need to fill with regards to our product and the user. Next, we will focus on building our prototype and then test it before moving on to coding a fully functional website or app.
Prototyping tools
There are many tools designers can use for prototyping, and ultimately it’s up to you to find one that meets your needs. We will be focusing on Figma for this course, but another popular contender in the market is Adobe XD.
Figma
Figma is a web-based graphics editing and user interface design app. You can use it to do all kinds of graphic design work from wireframing websites, designing mobile app interfaces, prototyping designs, crafting social media posts, and everything in between. The Starter plan gives you unlimited files in the Drafts space, which you can share with unlimited viewers. Additionally, you can co-edit with unlimited editors in the Team space on up to 3 files (limited 3 pages per file).
Starting with Figma
You should already have some familiarity with Figma from earlier lessons in the design course, but here we’ll go into further detail.
1. Download
Visit the Figma website to register a free account. Download and install the application as per the prompts.
2. Create a new file
Open Figma, create a new file, choose Design File. Click on the frame tool and select ‘Frame’. Alternatively, you can press on the letter ‘F’ on your keyboard. Click on the canvas area and drag the frame to the required size. Alternatively you can choose a preset frame (like iPhone X/Android Tablet/Web 1280) using the design tab in the properties panel.
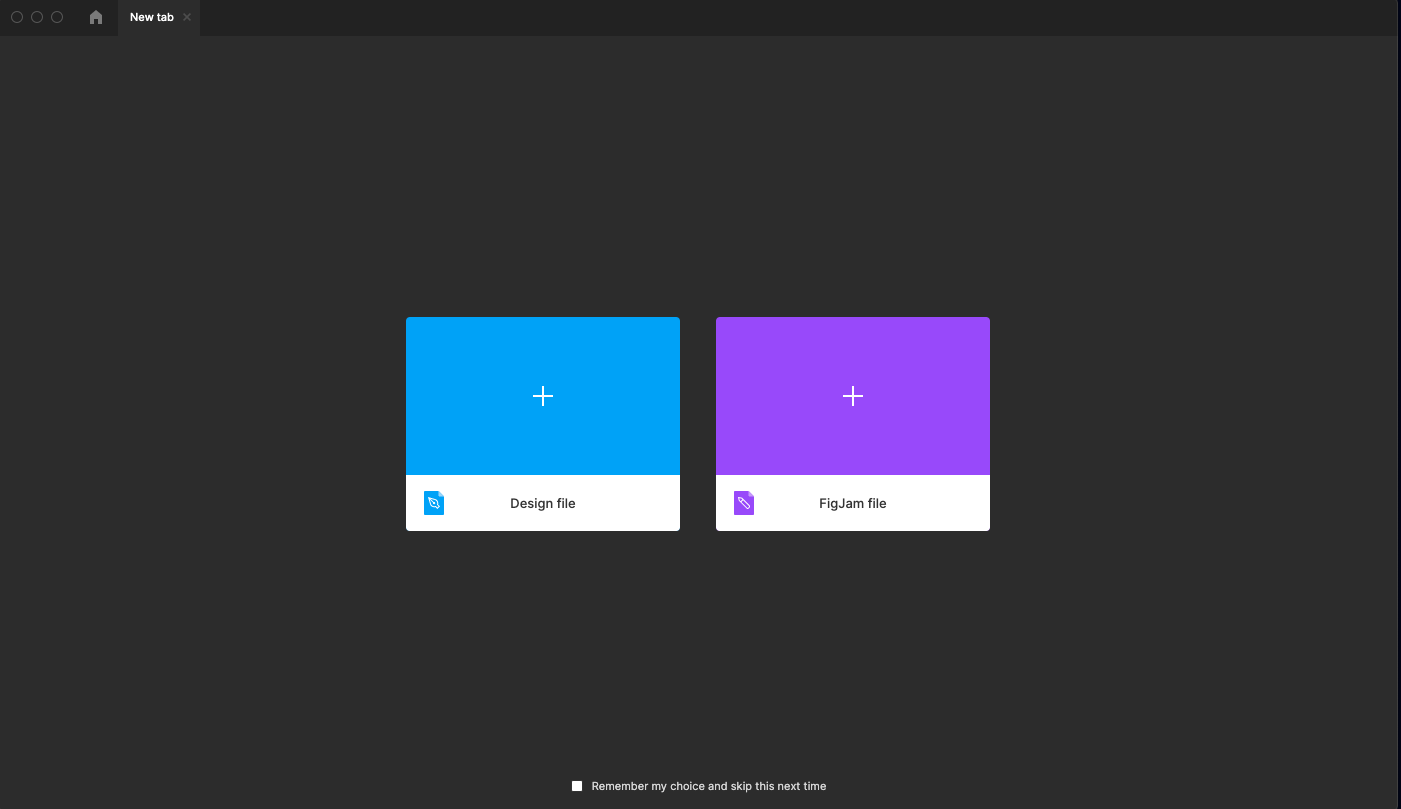
Figure 9: Figma create-a-new-file screen
3. Design mode
Figma has four different modes to help keep your project organised: Design, Prototype, Inspect and Share.
You can find these options in the top-left corner of the header bar.
When you have created a new design file, you will land in Design Mode. Here you can create your interface designs across multiple screens, which are called frames.
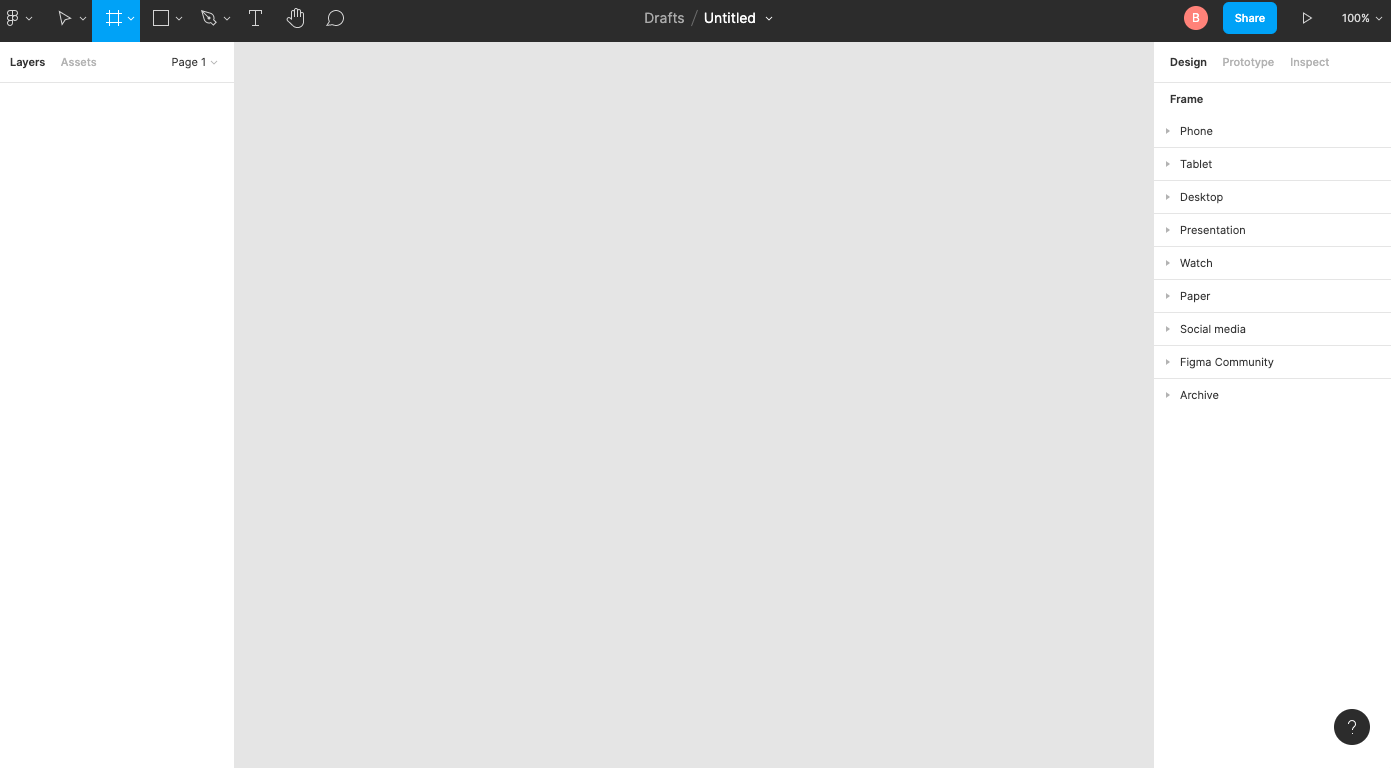
Figure 10. Design mode
4. Prototype mode
When your design is ready to start building your prototype, head over to Prototype mode. Here you can link up screens and apply everything you need to have a functional prototype.

Figure 11: Prototype mode
5. Share
People inherit access to a team’s Figma design files based on their team permissions. You can also invite external collaborators (or team members) to individual.
There are three permissions when inviting to a design file:
-
Can view
-
Can edit
-
Can view prototypes only
When you have generated a URL, this can be shared with anyone and will open in their browser. They don’t need to have Figma installed to view it. When you make changes to your project after this sharing link has been generated, the link needs to be updated to reflect the latest design version.
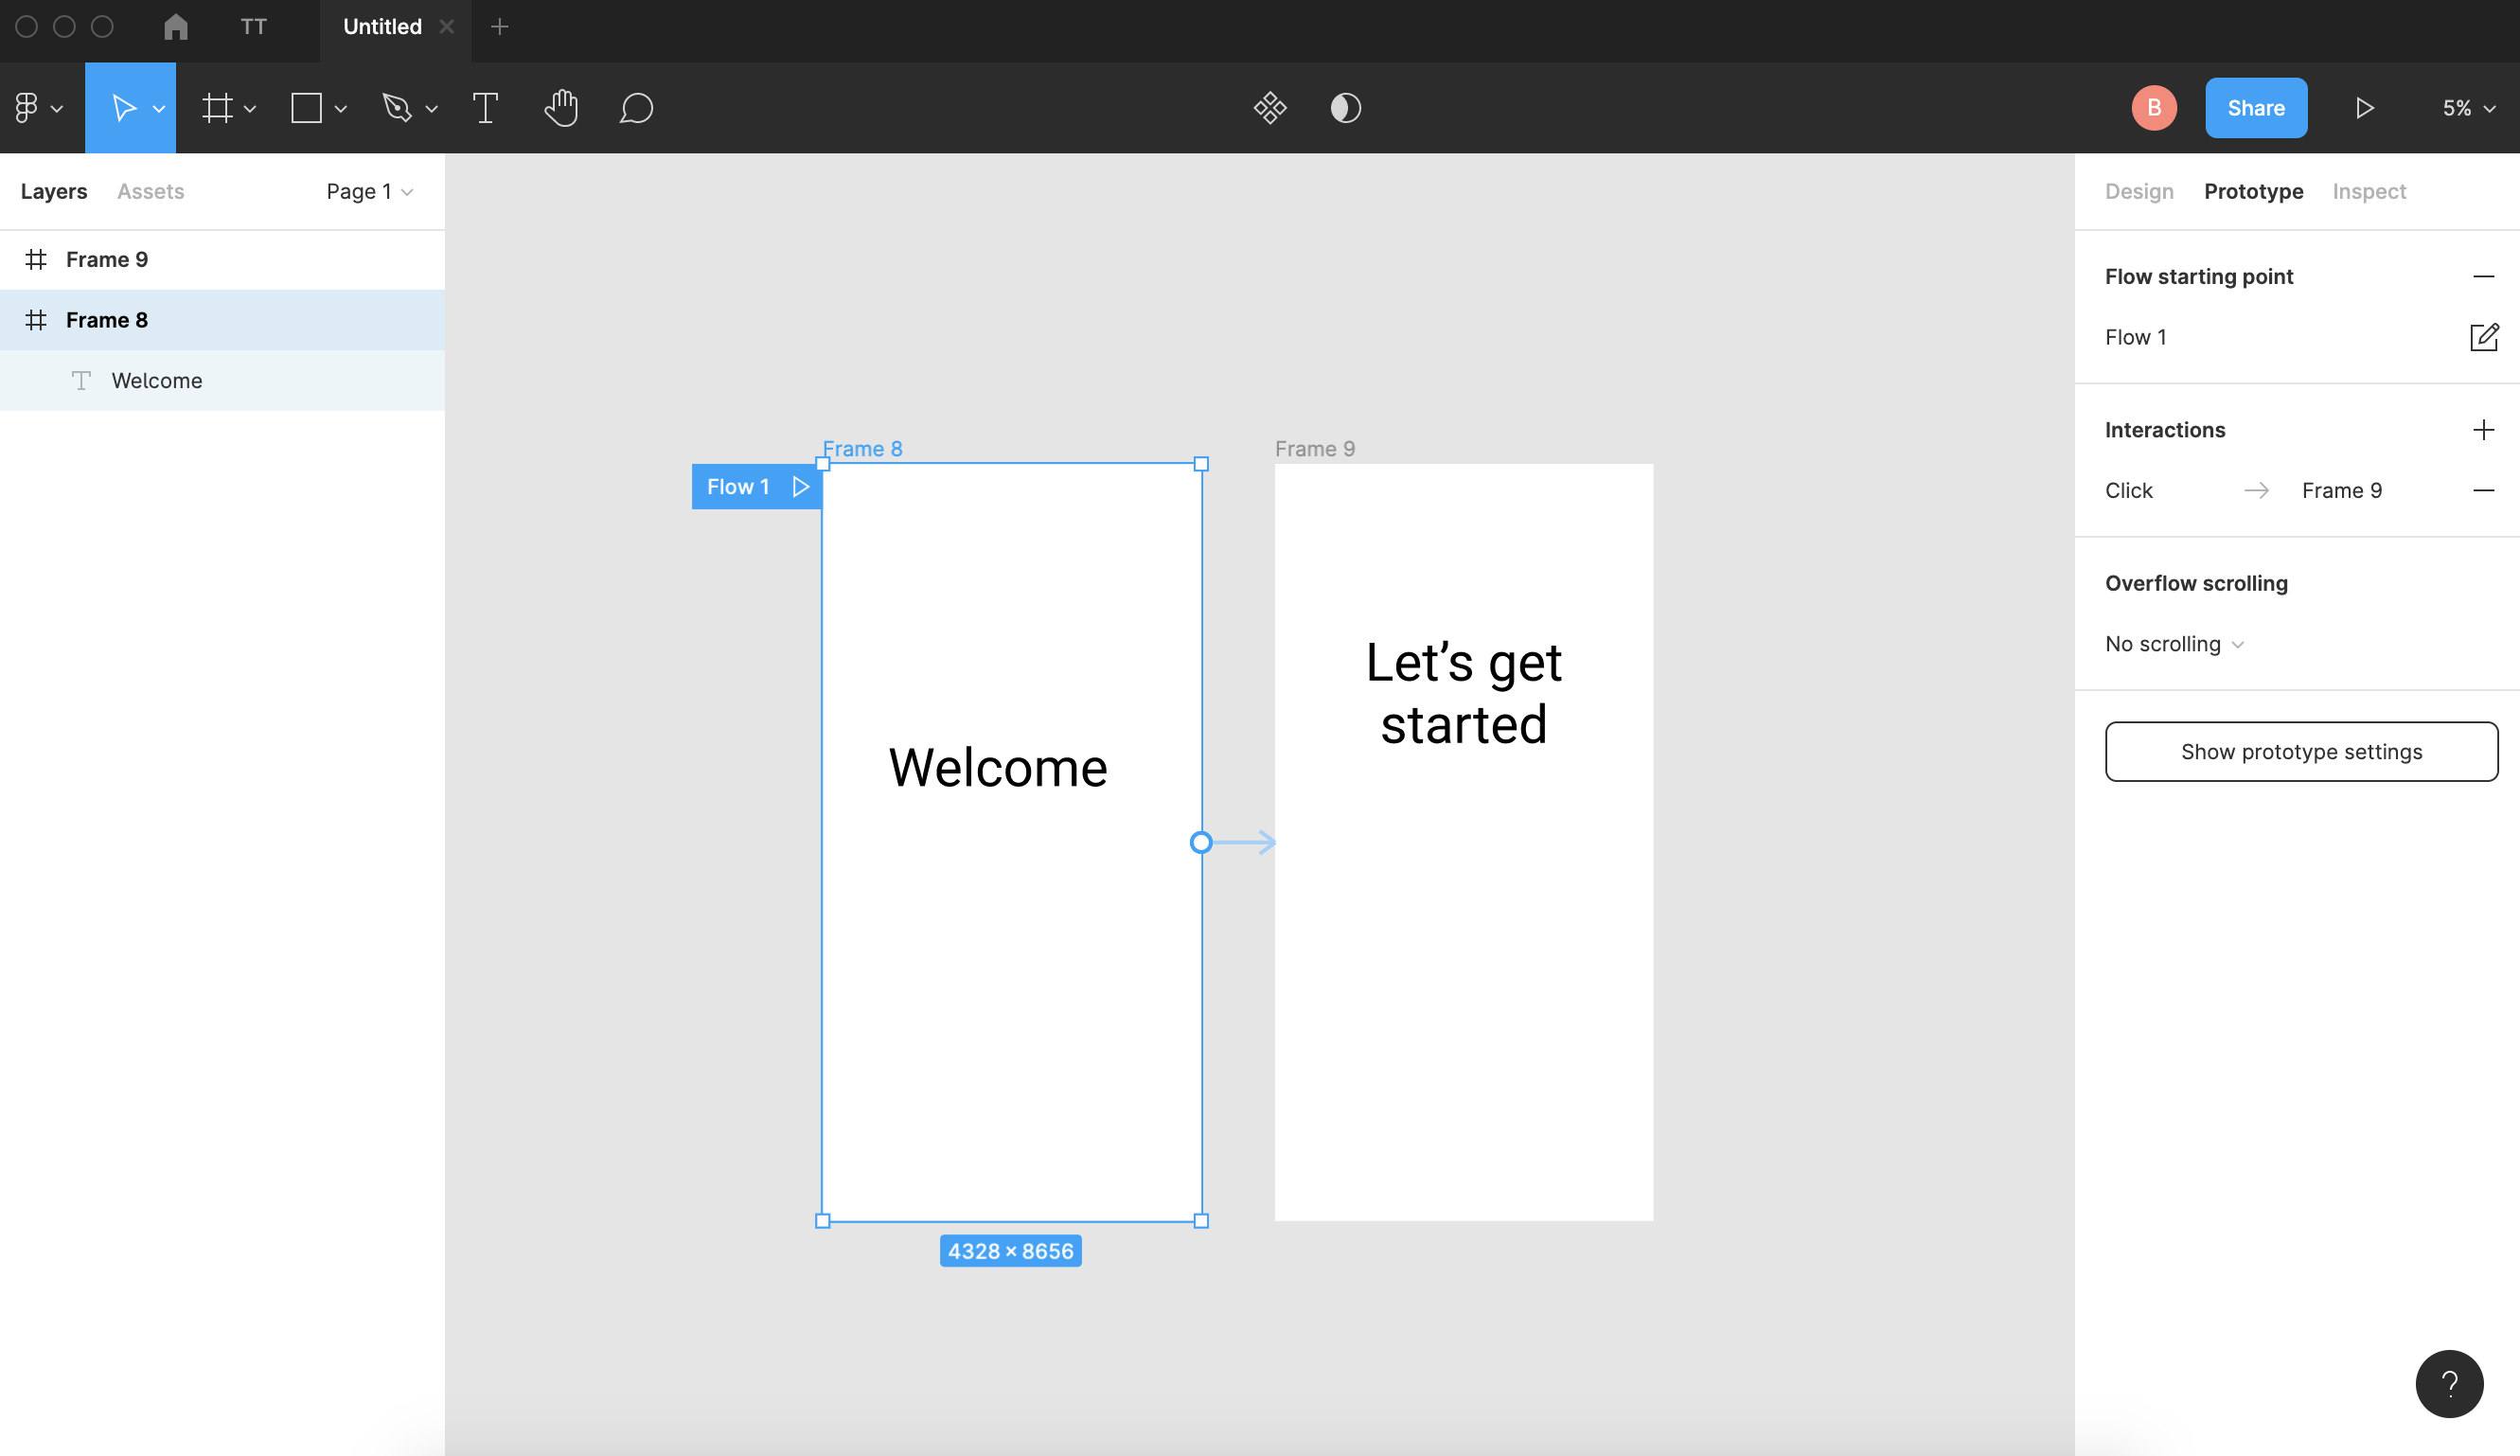
Fig.12: Share mode
Activities
Activity 1
WATCH
Video: Figma for beginners tutorials (51m 73s)
Activity 2
WATCH
Video course: Figma Essential Training: The Basics (1h 37m) by Brian Wood.
Activity 3
WATCH
Videos: Tutorials: Prototype while you design (1h 15m) by Figma.
Lesson Task
Goal
To familiarise yourself with prototyping in Figma.
Brief
Create a simple prototype in Figma. You can choose the theme of the site. The main thing is to experiment and see what you can make.
Level 1 Process
-
Choose the theme for your site. It could be an ice cream store or a sports blog, or whatever you like.
-
Next open Figma and start with the home page for desktop and get familiar with the tools to create the page.
-
You can make multiple pages and try linking them together.