Introduction
This lesson will examine methods to keep your projects secure by taking advantage of Environment Secrets.
During development, we may want to exclude items from our git history. In these situations, we use a .gitignore file to tell git to ignore certain files or folders. In many cases, the folders we choose to ignore are superfluous and can be regenerated easily with a command. For example, node_modules can be regenerated with npm i and dist or build folders can normally be regenerated with npm run build.
However, there are times when we want to keep certain files out of our git history for security reasons. An API key, for example, should always be hidden from a repository so that someone browsing the repository cannot use it for their own purposes.
Thankfully, there are well-tested systems to mitigate this risk in a standardised way. In this lesson, we will look at how to use Environment Secrets to keep our projects secure.
Note: This lesson requires knowledge of
Github Actionsprovided in the previous lesson. If you have not completed this lesson please do so before continuing.
Setup
To follow along with this lesson, you will need to have node installed. If you do not, please refer to this tutorial before proceeding.
You will also need a remote repository in order to run actions later in the lesson. Create a new project folder with this repository and open the terminal at this location. Run the following commands to create a new package and install the dotenv package as a development dependency:
git init
npm init -y
git add package.json
git commit -m "Initial Commit"
npm i -D dotenv
Next, create an empty file called test.js and add the following code:
require("dotenv/config");
Finally, create a .gitignore file and add /node_modules to exclude this folder.
Add and commit these changes:
git add .
git commit -m "Adds basic dotenv setup"
Environment variables
Environment variables are important values needed to run your project, stored in an .env file. Many different frameworks and packages utilise this system to centralise and secure their sensitive configuration data.
Environment variables provided by the dotenv package, which is designed to run on nodeJS instead of the browser. Bundler tools such as vite, webpack or parcel can be configured to expose these variables to the browser.
For this lesson, we will not be using the browser. However, the content of this lesson can be applied to later lessons that utilise a bundler package.
Ignoring the .env file
Before adding any important information to this file, it should first be listed in your .gitignore file:
/node_modules
.env
Even if this file has been committed and then removed from git history later, it will still be accessible by viewing the commit that removed it. If you accidentally publish sensitive data in a public repository, you should consider this information compromised and reset your credentials. For example, generate a new API key or change your password.
Example .env file
Below is a fictional .env file to demonstrate the syntax and typical usage:
API_USER="ExampleUser"
API_KEY="f6802dc0-8a7c-422c-a9da-d609bca3e190"
API_URL="https://app.api/v1/"
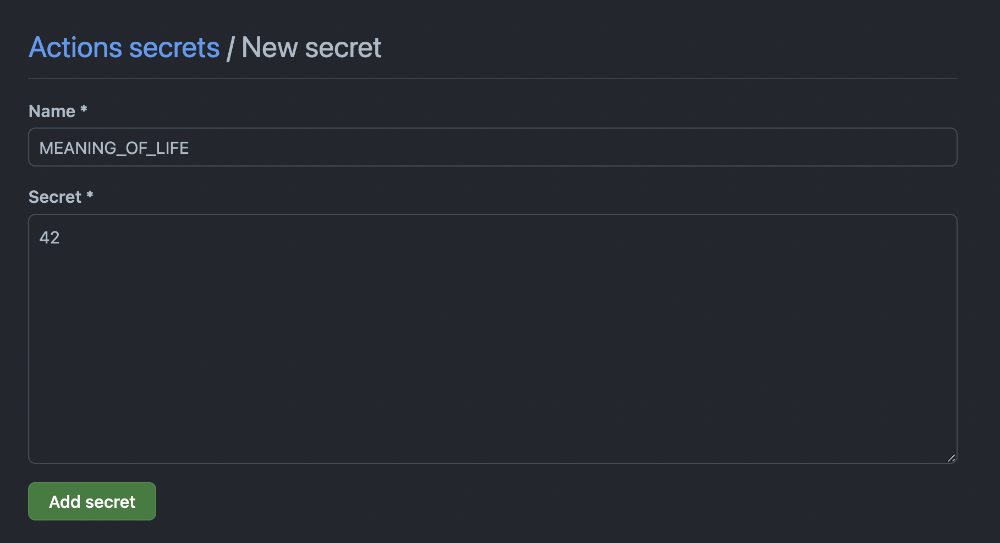
Create your own .env file in your project root folder and add the following content:
MEANING_OF_LIFE=42
You do not need to commit this file as it is ignored by version control.
.env.example file
Since your .env file will not be included in the repository, it is courteous to others to provide an example file with the same format so that another developer can use their own details. Using the example above:
.env.example
API_USER=
API_KEY=
API_URL=
How these details should be populated must be listed in your README.md file:
README.md
## Usage Instructions

1. Register an account here `https://app.api/register`
2. Get your key from `https://app.api/account/keys`
3. Visit `https://app.api/docs` for endpoints
4. Enter username, key and target endpoint in `.env`
Create your own .env.example file and commit this to your repository:
MEANING_OF_LIFE=
Accessing environment variables
To access the values in your .env file, you will reference the process.env variable within the test.js file:
require("dotenv/config");

function test(expectedSecret) {
  const secretMatches = process.env.MEANING_OF_LIFE == expectedSecret;
  console.log(`The meaning of life is ${process.env.MEANING_OF_LIFE}`);
  console.log(`The secret does${secretMatches ? "" : " not"} match!`);
  return secretMatches;
}

test(42)
We can test if this has worked by running this command:
node test.js
The meaning of life is 42
The secret does match!
This signifies that we have successfully implemented and accessed our environment variables.
Let’s add this test script to our package.json file:
{
  "scripts": {
    "test": "node test.js"
We can check that this has worked by running npm test; we should see the same output as before.
If you see an error here, ensure that test.js is an accurate path to your test file, including any folders you may have created.
Securing environment variables
Now that we have a working example of local environment variables, we can look at how to secure them. If we committed the .env file directly to our repository, it would be available to anyone who visits the repository. Instead, we need to use a secret store to contain this information.
Before we can do this, we will need to set up a remote repository with GitHub.
Create a blank repository on GitHub, and add this as a remote called origin. If you are unsure how to do this, please refer to this lesson.
Push your local repository content to your remote repository, then navigate to the settings page for this remote repository.
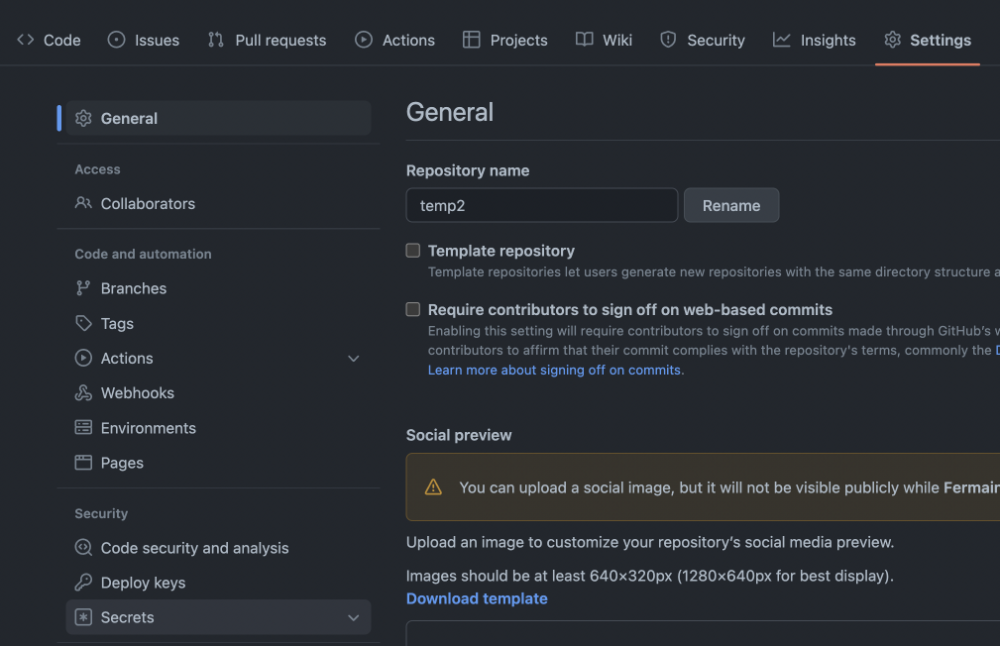
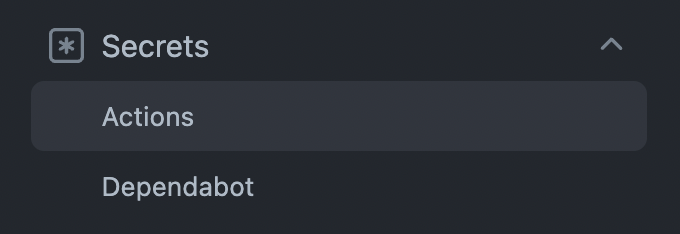
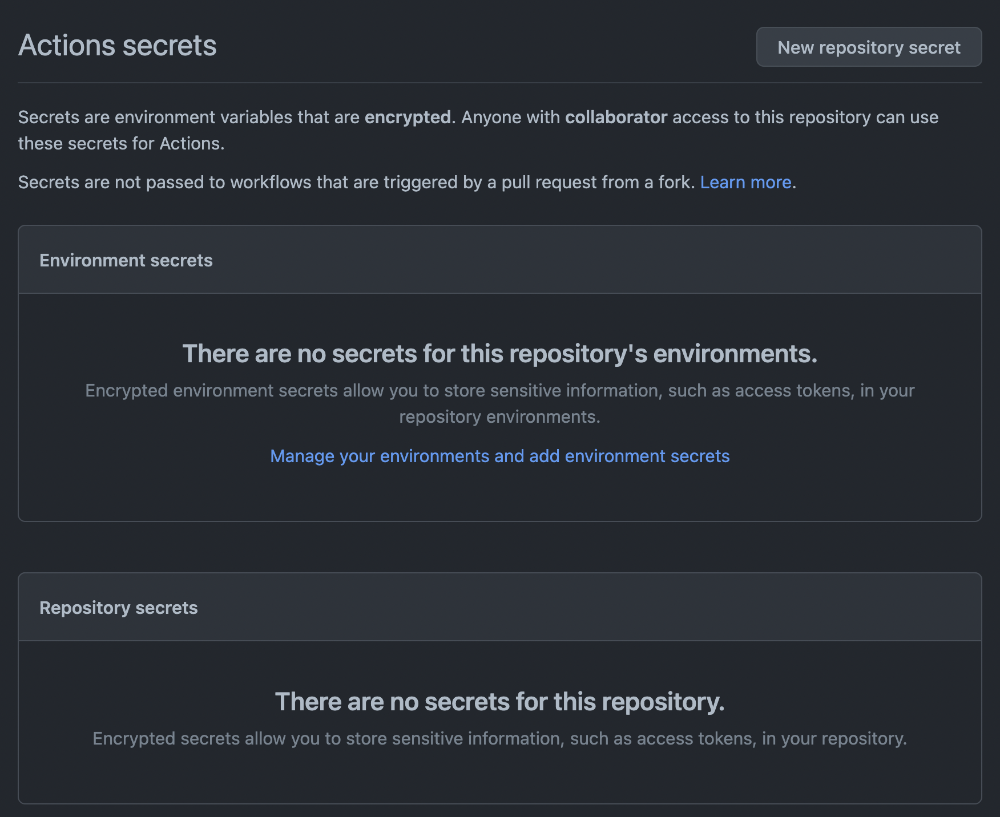
From this menu, we can create our first repository secret:
Once saved you should see this secret stored in the same menu:

Using our Repository Secret
When making our secrets useful within our project, we must create a new workflow file. If you have not completed the lesson on actions, please do so before continuing this section. The idea is that GitHub will pass our secret directly to a workflow at the time it is run. This means that we can use this secret in our project without having to commit it to our repository.
Create a new file called .github/workflows/test.yml and add the following content:
name: Test our Secret Value

on: [workflow_dispatch]

env:
  ## Sets environment variable

  MEANING_OF_LIFE: ${{secrets.MEANING_OF_LIFE}}

jobs:
  check:
    runs-on: ubuntu-latest
    steps:
      - uses: actions/checkout@v2
      - name: Install Dependencies
        run: npm i
      - name: Run test script
        run: npm run test
This workflow only runs when triggered manually, and sets the MEANING_OF_LIFE environment variable to the value of our MEANING_OF_LIFE secret. Commit and push this change to your repository and visit the Actions page to trigger a new run.
If we click into this new workflow run we can watch it execute in real time. Click on the “Run test script” step to see the output:
Run npm run test

> temp@1.0.0 test
> node test.js

The meaning of life is ***
The secret does match!
Although GitHub has automatically censored the secret itself, we can see that the value matches our expectation. We have successfully set up and deployed a usable secret to our project.
Using Secrets in a Deploy
We have seen how we can access our .env variables inside a simple test script during a workflow, but most often, we want to use these values in our deployed application. Although there are many ways to achieve this using different software packages, the concept in each case is the same:
- Run a new deploy workflow
- Replace placeholder values with our secrets
- Deploy the application code with secrets included
Instead of using a bundler to achieve this, we will use a pre-defined Action from the GitHub marketplace. This action will automatically replace placeholder values with a given secret, meaning that we can use these values in our application without needing to store them in the repository.
Setup
Create an HTML file called index.html at the root of your project:
<!DOCTYPE html>
<html lang="en">
<head>
  <meta charset="UTF-8">
  <meta http-equiv="X-UA-Compatible" content="IE=edge">
  <meta name="viewport" content="width=device-width, initial-scale=1.0">
  <title>GitHub Pages Demo</title>
</head>
<body>
  <h1>The meaning of life is: <pre>__MEANING_OF_LIFE__</pre></h1>
</body>
</html>
Notice that this file contains a placeholder (__MEANING_OF_LIFE__). We want to replace this placeholder with the value of our MEANING_OF_LIFE secret in our action.
Create a new workflow file called .github/workflows/deploy-with-secret.yml and add the following content:
name: Deploy to Pages with Secret
on:
  # Runs on pushes targeting the default branch
  push:
    branches: ["master"]

  # Allows you to run this workflow manually from the Actions tab
  workflow_dispatch:

# Sets permissions of the GITHUB_TOKEN to allow deployment to GitHub Pages
permissions:
  contents: read
  pages: write
  id-token: write

# Allow one concurrent deployment
concurrency:
  group: "pages"
  cancel-in-progress: true

jobs:
  # Single deploy job since we're just deploying
  deploy:
    environment:
      name: github-pages
      url: ${{ steps.deployment.outputs.page_url }}
    runs-on: ubuntu-latest
    steps:
      - name: Checkout
        uses: actions/checkout@v3
      - name: Install Dependencies
        run: npm i
      - name: Replace placeholders with our secret variables
        uses: falnyr/replace-env-vars-action@v1.3.2
        env:
          MEANING_OF_LIFE: ${{secrets.MEANING_OF_LIFE}}
        with:
          filename: index.html
      - name: Setup Pages
        uses: actions/configure-pages@v2
      - name: Upload artifact
        uses: actions/upload-pages-artifact@v1
        with:
          # Upload entire repository
          path: '.'
      - name: Deploy to GitHub Pages
        id: deployment
        uses: actions/deploy-pages@v1
This is very similar to a basic GitHub Pages deploy workflow, except we are using this custom Job:
  - name: Replace placeholders with our secret variables
    uses: falnyr/replace-env-vars-action@v1.3.2
    env:
      MEANING_OF_LIFE: ${{secrets.MEANING_OF_LIFE}}
    with:
      filename: index.html
This is like using an npm package to save time with development. In this case, another developer has created a script that accepts a filename (our HTML file) and allows us to set ENV variables from our secrets to replace with.
Commit and push these changes to your repository and visit the Actions page to view the new run. Once this has succeeded, proceed to your pages URL to see the result:
Conclusion
We have now set up and deployed a secure pipeline for our application. Using this pattern, we can change these variables at any time, and replace other files beyond an HTML file. For example, we could replace __API_KEY__ in a JavaScript file in order to provide a key for requests.
In reality, we would never go to the effort to conceal a secret simply to expose it on the home page of our website, however, this lesson is designed to show the process with as few moving parts as possible. Every web application should have a system in place to obfuscate secrets and knowing how to manage this is an expectation you will meet in the workplace.